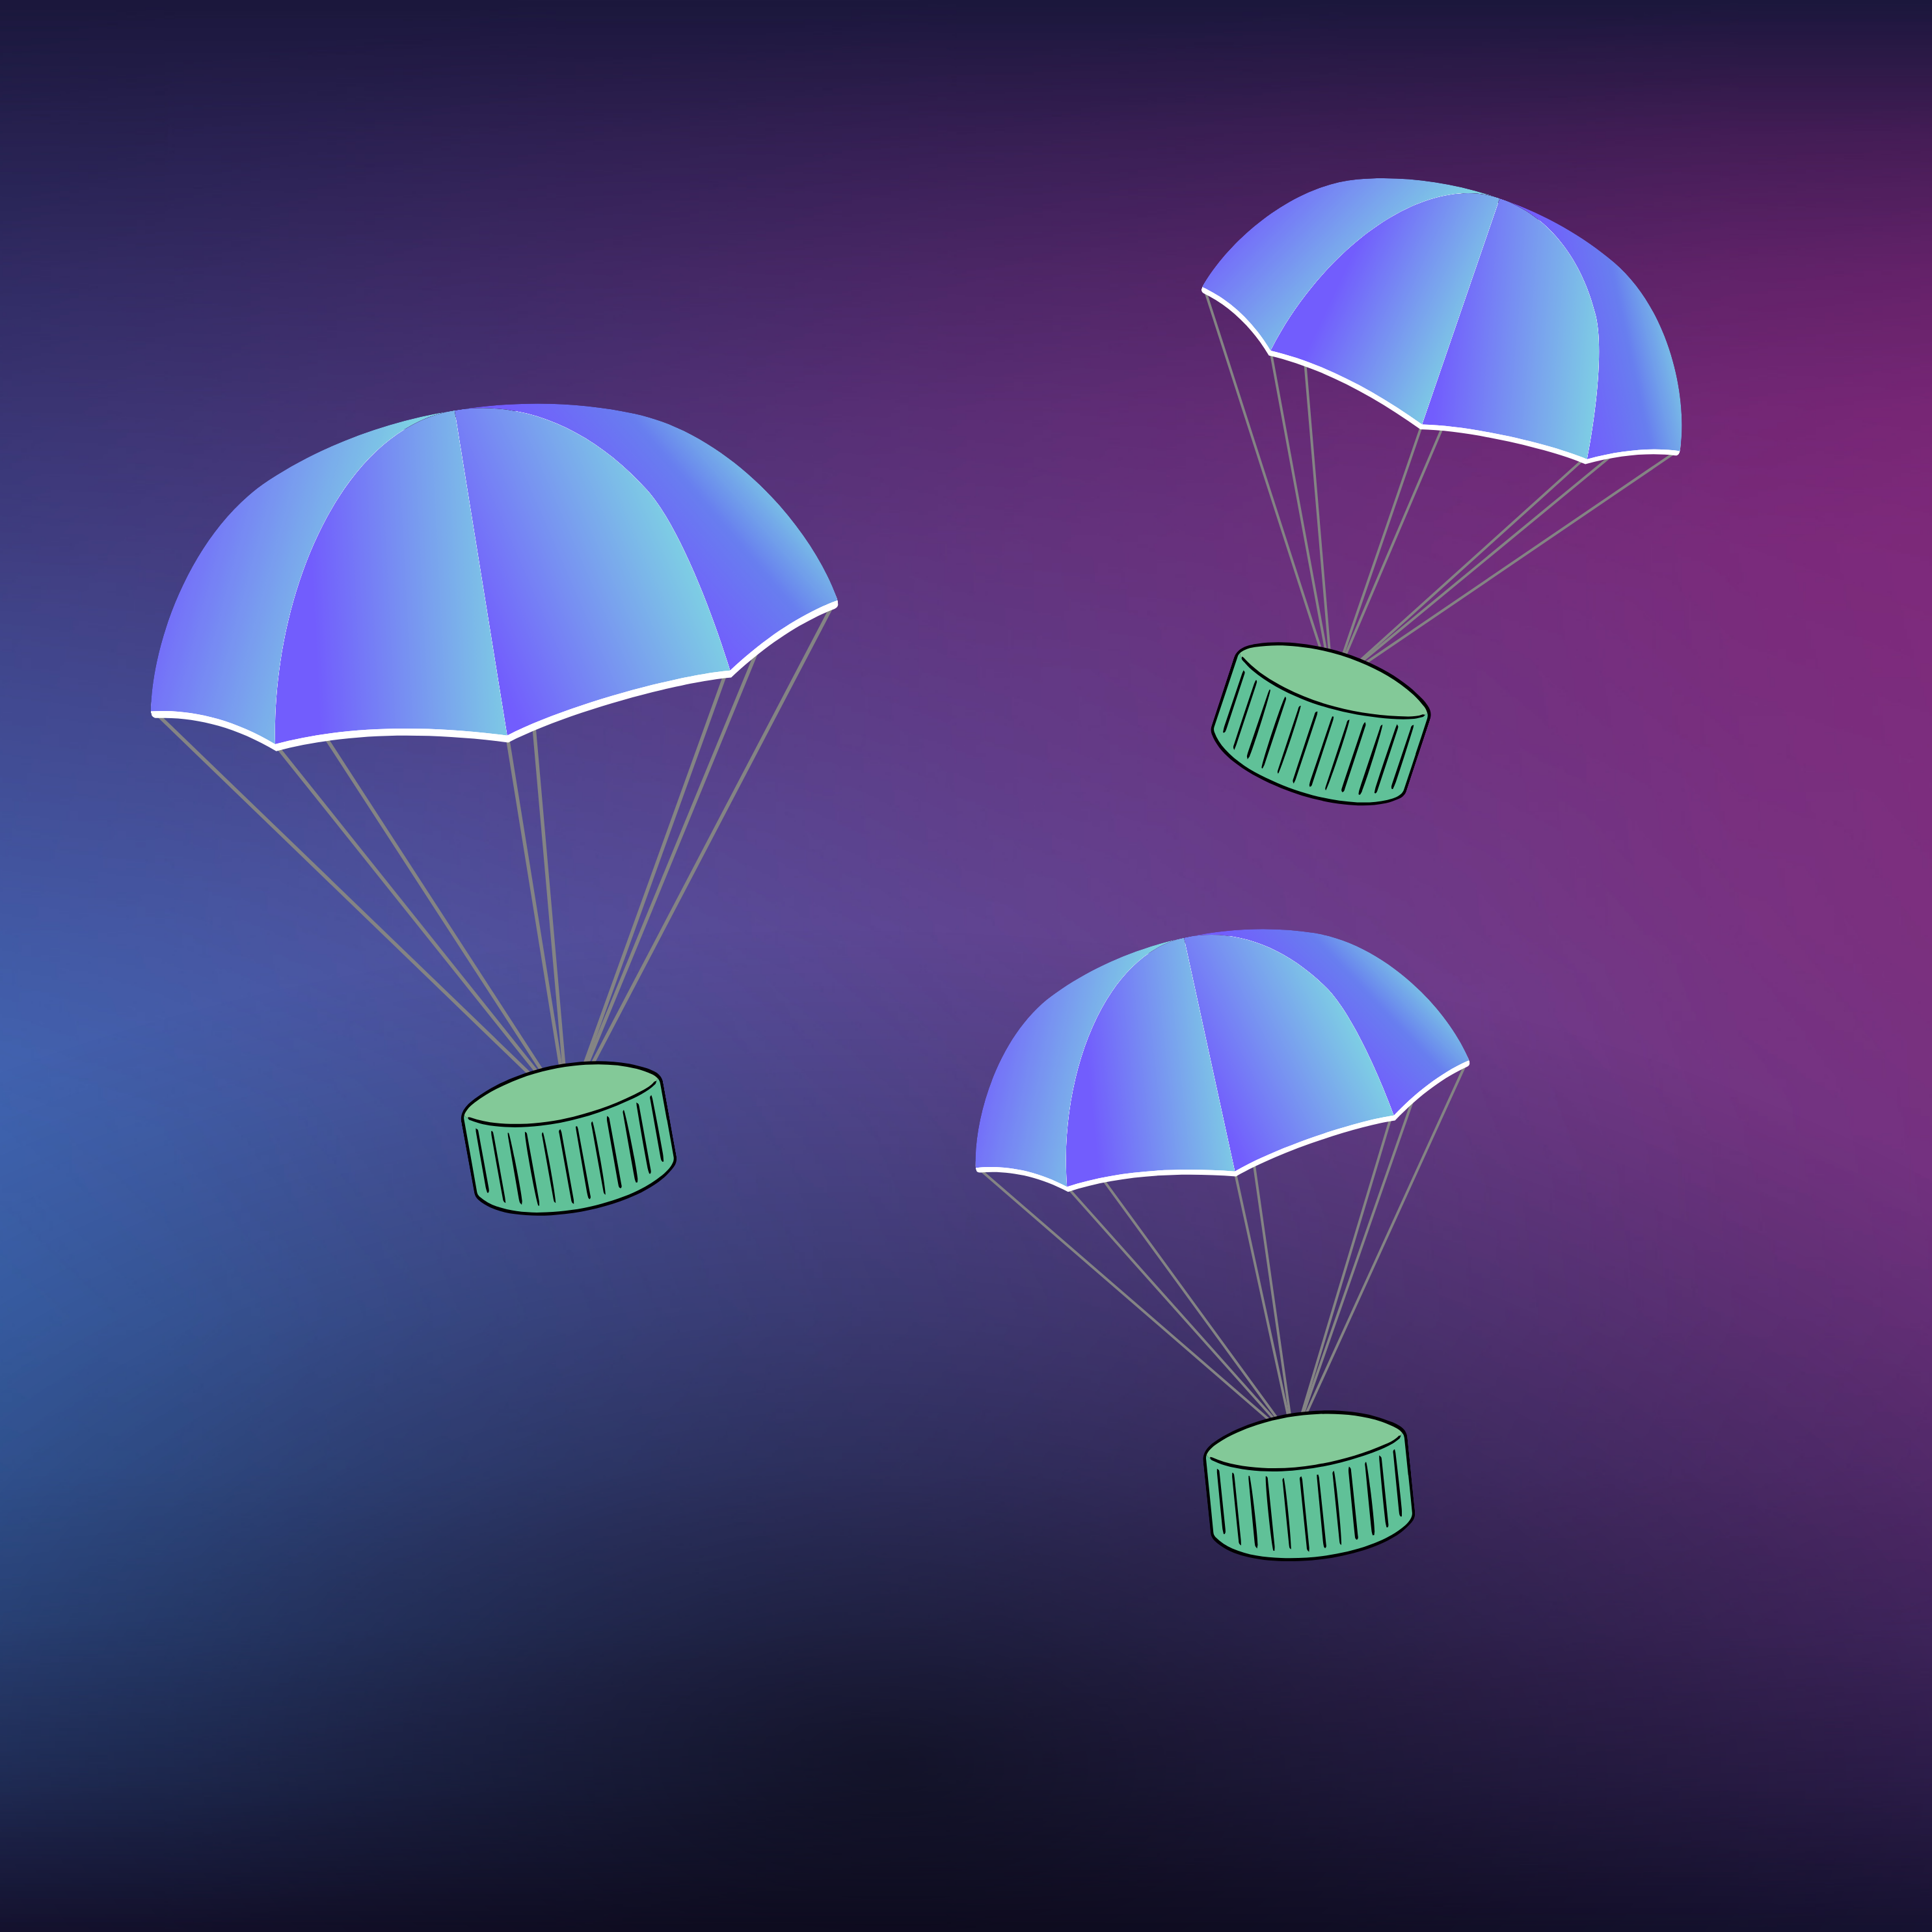
MAKE PARACHUTE DIY ACTIVITY FOR KIDS
Introduction
Let’s make a super cool fun learning science activity at home, a DIY parachute. It is my favorite project to make at home but also because it is so much fun to play with.
Who doesn’t like making cool science projects at home or doing simple science experiments at home? As I child I liked making such projects. I used to open my old toys, in fact sometimes new toys Just to find out how they work.
So today we will make a science project that doesn’t require you to open your toys. You can make this one with simple things commonly available at home. This is the best & most effective design we did for a parachute. And this activity can be done by children of age group 5 years & above.
What is Parachute?
A parachute is a device used to slow down an object or person when falling from the sky or moving at high speed so it can save us from the damage by helping us slow down. Parachutes are used by Army, skydivers, even space loads & even high-speed planes to slow down. Here are uses of parachutes:
- Adventure sports – Paragliding, Parasailing, Sky diving, etc.
- Army & Defense forces – Paratroops
- Slowing Down & Braking – Space shuttles & other high-speed planes.
Story of the Invention

Master designer & artist Leonardo Da Vinci has ideas for a parachute-like device in his writings. But the first parachute was made by Louis-Sebastien of France. He also tested the design by taking a jump from a tree in the Year 1783 but André-Jacques Garnering was the first to design and test parachutes capable of slowing a man’s fall from a high altitude
How it works
A Parachute is a device that helps us to slow down our speed and it can save us when we are falling towards the ground. It uses Air Resistance to slow down the effect of gravity.
Let’s make this fun learning activity at home
We will make a fun learning activity at home, Lets make a parachute & even add a small character to it, So Let’s start with the material required for this project:
- A big polybag or a dustbin/garbage bag
- Thick thread
- Double-Sided Tapes
- old bottle caps
- Tape
- Decoration is optional
- Scissors
Step 1: Cut the plastic bag
For making this science project, you will need to cut a square-shaped plastic so for this step you can take your parents or an adult’s help to cut the plastic bag if needed. You can also use an old plastic bag & even a garbage bag will work.
Additional Note: We suggest you use an old plastic bag & not a new one as it will help the environment.
Step 2: Make the character
Take any two bottle caps (explore our bottle art kit), you can also use Coldrink plastic caps. Use glue or double-sided tape to paste them together on opposing ends. Use colored paper, googly eyes or markers to color & customize your Character.
Step 3: Attach thread to the plastic sheet
Its time we take 4 equal-sized thick thread pieces, Roughly 10-12 inches in length. Now use plastic tape to paste the one thread at each end of the plastic sheet.
Step 4: Connect thread with the character
Hold all the thread ends together & paste them on the character. You can also use an adult’s help to put a screw or a holder on the bottle cap character to tie these threads. In case you cannot, you can simply tape the threads together on top of the character’s head.
Step 5: Throw your parachute
As the parachutes threads can get tangled. So its important to learn how to throw the parachute. You can simply fold the plastic & carefully hold the threads together before throwing parachute upwards.
And your parachute project is done. Its time for endless fun!
So I hope you like making the parachute. We will be back with more projects for you. Don’t forget to check our amazing range of DIY activity kits for children Robotics, Electronics, Science, Junk jugaad, art & design for children over 5 years.
Click here to view & but our activity kits from Amazon India & our store www.stemstore.in
If you have any query, feel free to write to use at support@becre8v.com


